Approaches to Bare Metal
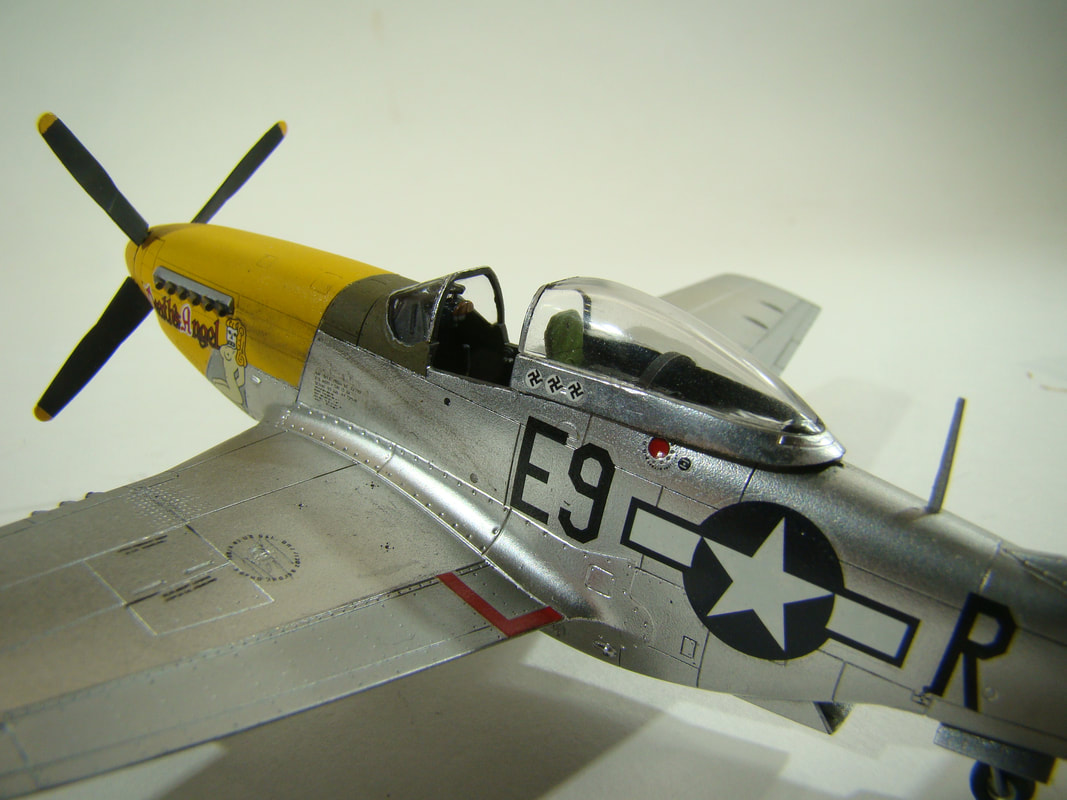
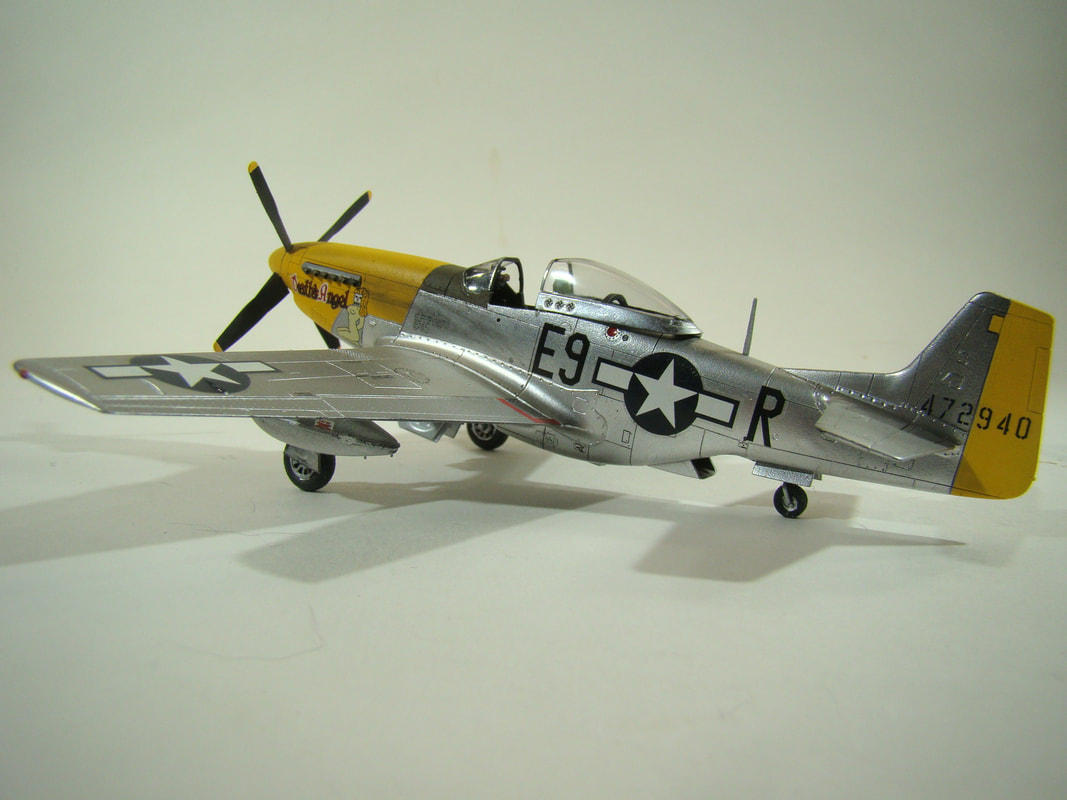
Painting Lt. Harry Chapman's "Death Angel" P-51D Mustang by Eric Burleigh
The kit I started with is Tamiya's "8th A.F. Aces" #60773 so I assembled this Angel without any need for filler anywhere as can be expected with any Tamiya kit.
Since the canopy was to be assembled in the open position, the sliding section was secured to a "sticky pad", stuffed with tissue and sealed with liquid latex-
- so no paint spray could enter the canopy. It was masked with liquid latex and painted separately starting with a base of ALC305 black to match the rear cockpit panel.-
-(This coat was applied along with the gloss black base coat, when all of the yellow-work was finished and masked off.)
1. The interior of the cockpit was stuffed with tissue pieces and sealed with liquid latex after the forward fixed windscreen section was permanently secured in position,-
-with Testors Clear Parts Cement. Previously, the combing forward of the gunsight was brush-painted flat black.
2. The exterior of the windscreen was masked completely with liquid latex before the next step.
3. All of the nose and rudder were airbrushed flat white Model Master FS37875 enamel.
4. Model Master FS33538 Insignia Yellow was airbrushed over the entire nose and rudder.
5. All of the straight lines of the finished-yellow areas were masked with 6mm Tamiya masking tape-
and the balance of those yellow markings were masked with liquid latex.
6. With the windscreen and yellow areas fully masked the area forward of the windscreen was airbrushed Model Master FS34087 Olive Drab.
7. The latex windscreen-masking was then stripped and the windscreen clear areas were re-masked with liquid latex leaving the frame areas exposed.
8. The olive drab area in front of the windscreen was then masked off with liquid latex.
9. The entire model was then airbrushed AlC305 Gloss Black Base. At this stage, the landing gear wells are previously stuffed and sealed with liquid latex.
the landing gear doors are mounted on "sticky-pads" and painted separately with gloss black base.
10. After drying over-night, the entire aircraft is airbrushed Alclad ALC119 Airframe Aluminum including the sliding canopy section and landing gear doors; and left to dry over-night.
11. The perimeter of the elevators, flaps and ailerons were then masked off with Tamiya tape and those moving sections were airbrushed with my own mix of dull Alclad airframe aluminum.
12. With the yellow and olive drab areas still masked, the whole bird was airbrushed with one coat of Alclad 2 Gloss Klear Kote ALC310 and left to dry thoroughly.
13. The AeroMaster Yellow Nose Mustangs of the 361st F.G. decals were then applied to a bedding solution of Micro Set and white glue then sealed with another coat of ALC310.
The tricky part here is that the yellow and olive drab sections are to remain dull so the nose doesn't subject the pilot to glare. Since the "Death's Angel" and code decals bridge polished and dull-
-areas, they were left off until the finished clear gloss ALC119 was dried and the masking over the yellow and olive drab areas was removed.-
-The bedding solution insured the decals would seat even over the dull painted areas. All of the cockpit and wheel-well masking could then be removed and all the final assemblies initiated.
Hopefully all you fellow "Bare Metal" modelers find this helpful. Eric A Burleigh [email protected]
Another Approach to Bare Metal from Mike Fleckenstein...
1. After filling/sanding etc. primed with Tamiya Grey primer from the can
2. Check for any glitches and correct. Re-prime any fixes with decanted Tamiya grey primer through the airbrush (to avoid excessive primer buildup)
3. Airbrush in order: white, yellow, blue, red, OD, black
4. Mask the above to prep for Alclad
5. Light coats of Alclad aluminum
6. Mask appropriate panels and airbrush Alclad magnesium
7. Remove masks and airbrush Alclad ALC 600 gloss to prep for decals
8. Apply decals and another light coat of ALC600
9. Airbrush Tamiya flat to tone down aluminum
10. Highlight panel lines with pastel chalks


