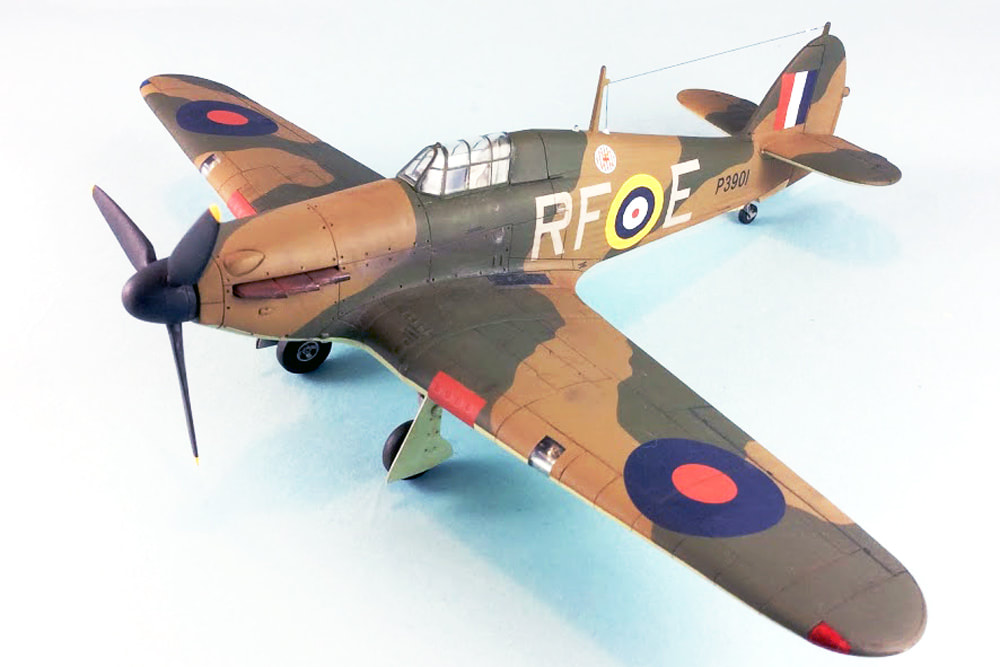
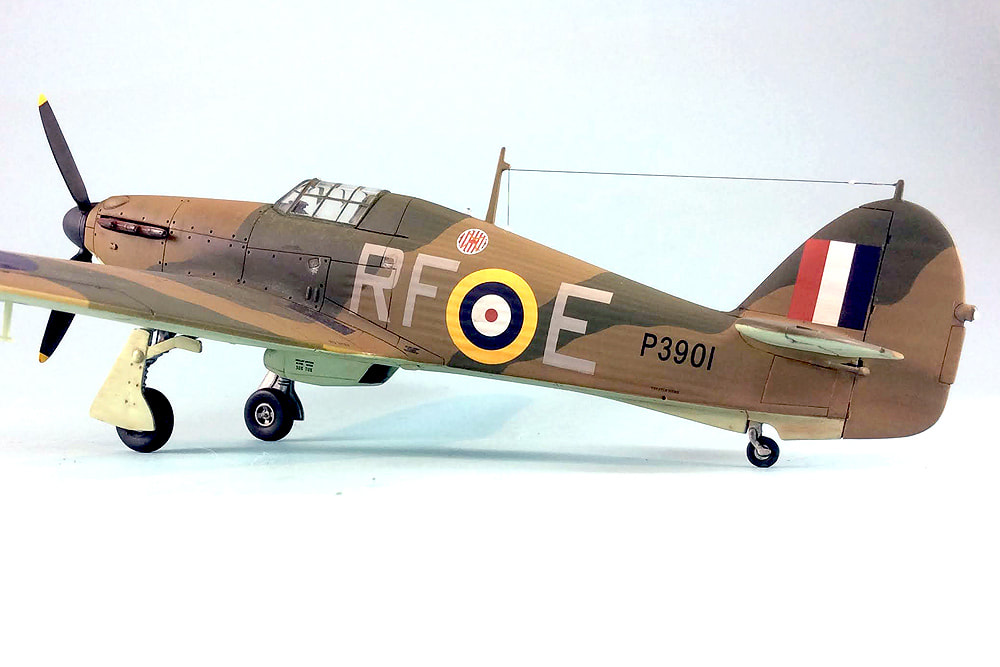
Hawker Hurricane Mk.I
Pegasus's 1/48 snap kit. It fits well, but with softer (and less) detail than the higher-end Hasegawa or Airfix kits, but then again list price was only $10. You can see Brett Green's review of the Pegasus Hurricane on Hyperscale.
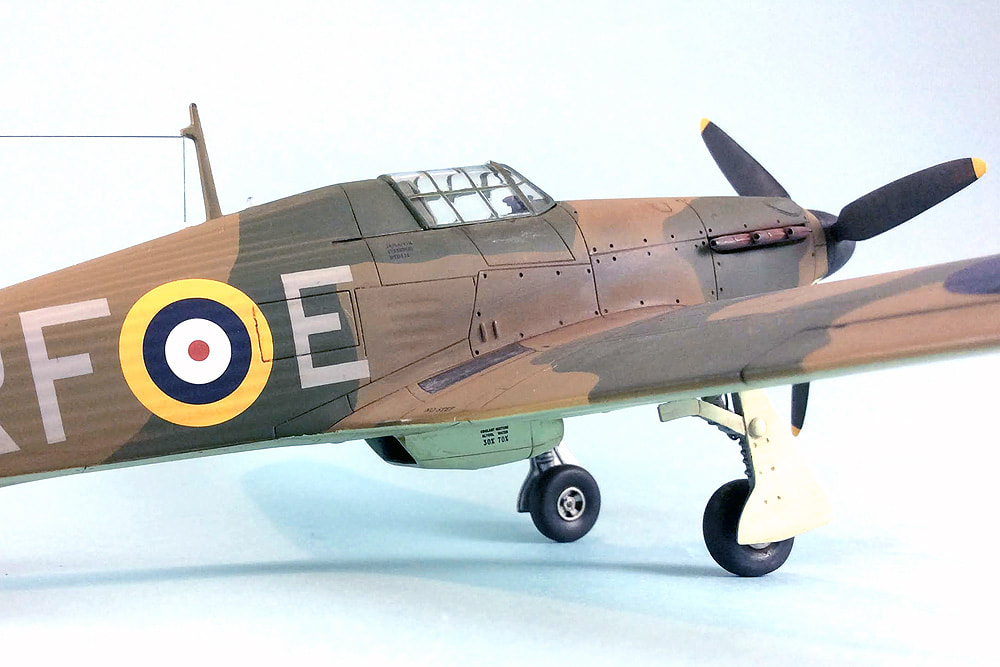
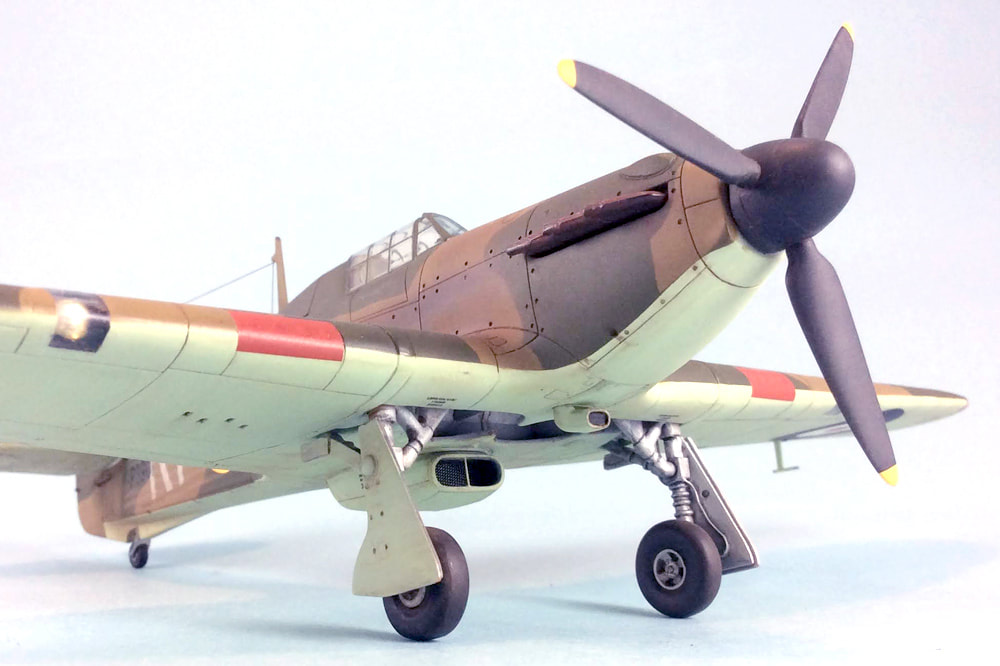
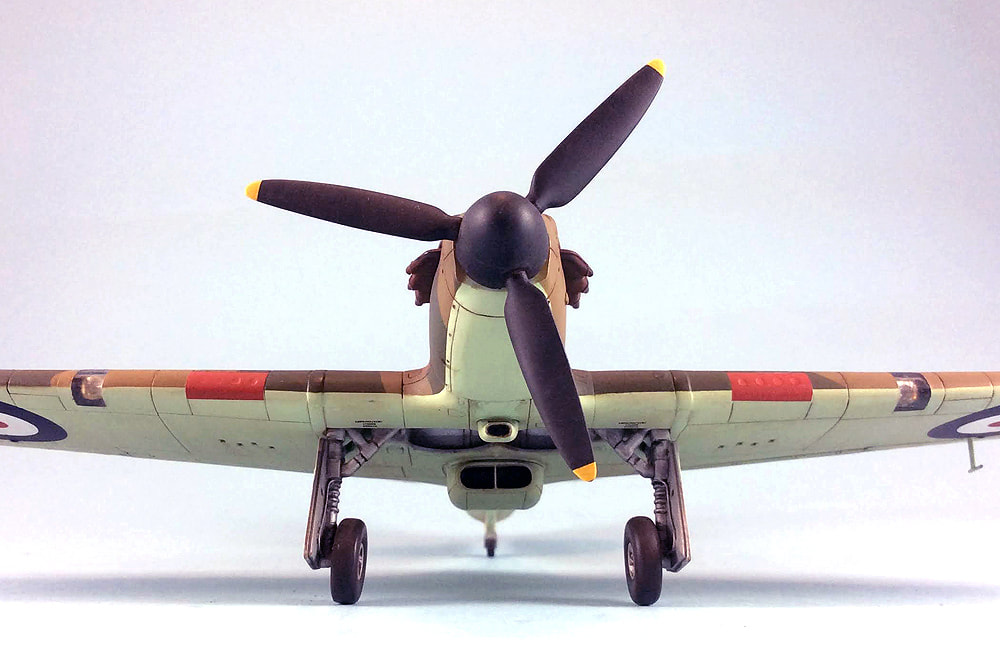
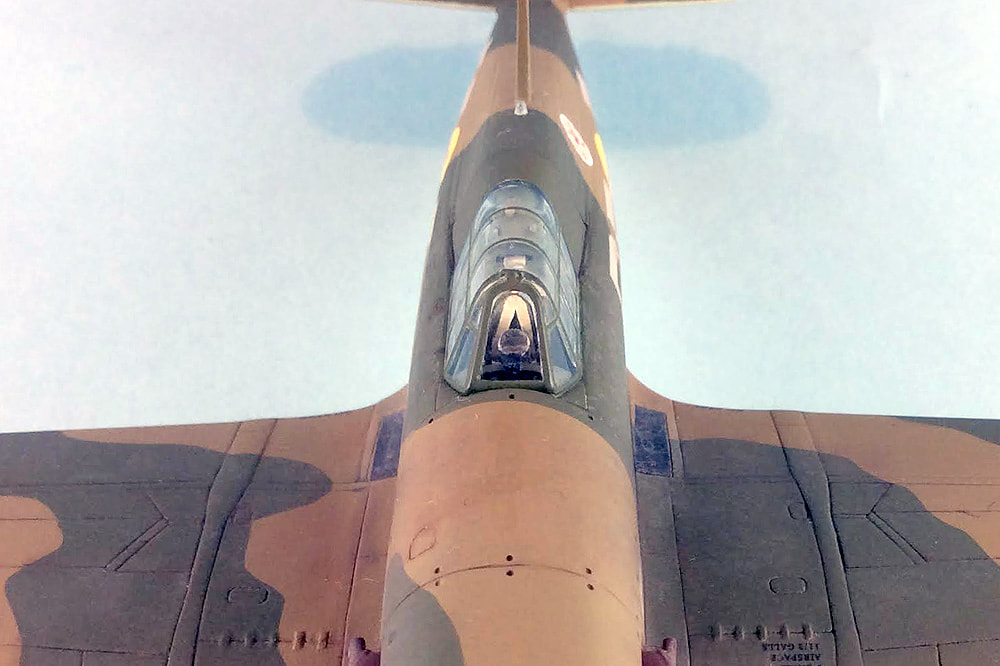
The fabric surfaces present well and the cockpit detail is actually pretty good once painted and washed/highlighted, but you can't see much (any) of it through the thick one-piece canopy. The gear bay is nicely detailed as well. While clear, the canopy is thick with soft framing which made masking and painting it a challenge yielding less than perfect results. The kit's plastic is oddly textured - kinda pebbly - and sanding and priming (repeatedly) fixed much of that issue except for along some panel lines and fuselage openings where the pebble-texture made for some rough edges. Being a snap kit, the landing gear is quite robust, lacking the look of the precisely engineered assemblage of bolted and hinged-together steel tubing of the real thing (and higher end kits).
Details I added from scratch include:
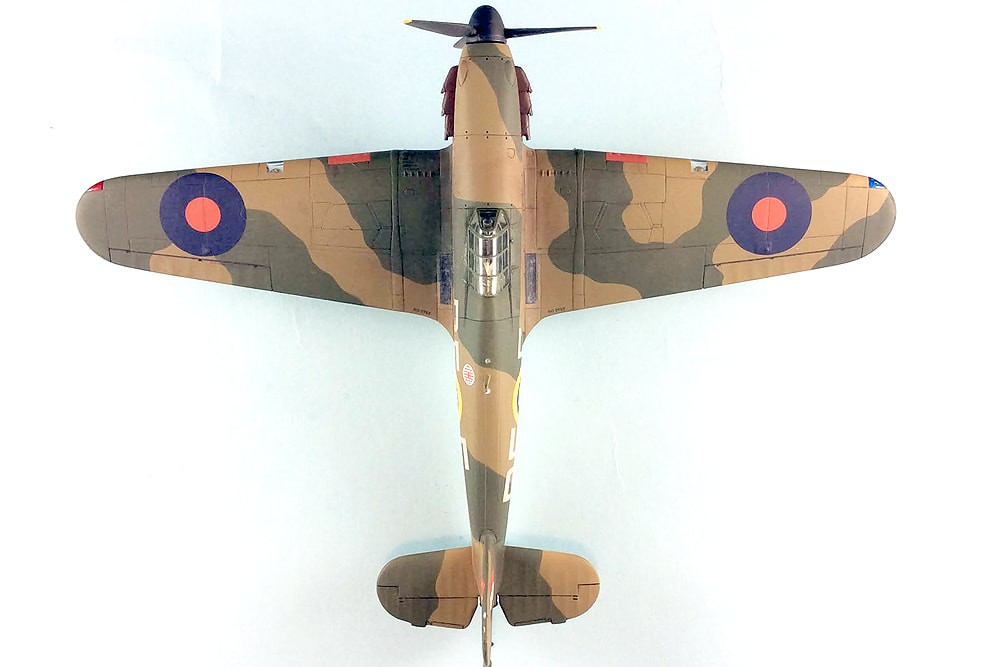
I primed with gray Stynylrez (great stuff) and used PolyScale for the main camo colors, supplemented by Tamiya flat aluminium, rubber black, and other colors for smaller bits. Future was sprayed on, but my half full bottle was old enough to still be labeled as Future which, along with spraying in a very cold basement using a new-to-me airbrush, may have caused some of the coverage problems and anxiety I experienced during this stage.
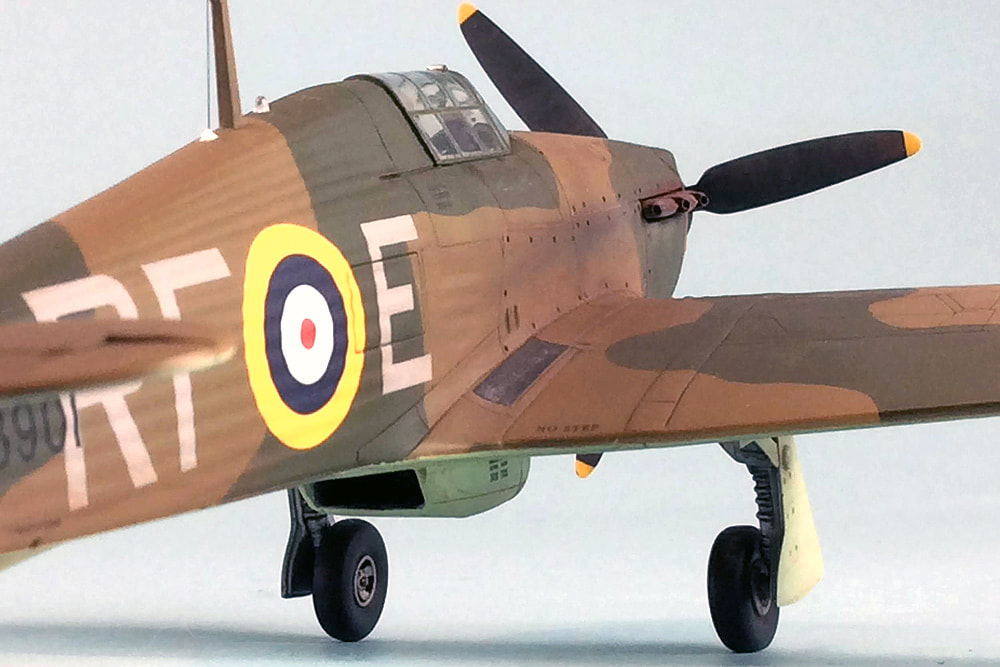
Kit decals were a mixed bag. The insignia colors were too bright so I used an aftermarket set for the roundels and fin flashes, but the kit-supplied aircraft code letters and serial number were opaque and performed excellently. Decals went down using MicroSet and Solvaset, followed by a successful application of fresh Revive It Floor Gloss thinned with a bit of Tamiya acrylic thinner (thanks to Brett for that suggestion). Panel line washes and very light weathering followed, topped off by Dulcote.
Sounds like I'm talking trash about the kit, but the Pegasus Hurricane isn't pretending to be a Hasegawa, Tamiya, or Airfix kit. It has a lot of positives going for it and provided a good challenge with a positive result.
The fabric surfaces present well and the cockpit detail is actually pretty good once painted and washed/highlighted, but you can't see much (any) of it through the thick one-piece canopy. The gear bay is nicely detailed as well. While clear, the canopy is thick with soft framing which made masking and painting it a challenge yielding less than perfect results. The kit's plastic is oddly textured - kinda pebbly - and sanding and priming (repeatedly) fixed much of that issue except for along some panel lines and fuselage openings where the pebble-texture made for some rough edges. Being a snap kit, the landing gear is quite robust, lacking the look of the precisely engineered assemblage of bolted and hinged-together steel tubing of the real thing (and higher end kits).
Details I added from scratch include:
- a pitot tube from bits of styrene (there's a hole in the wing for it, but it's not mentioned in the instructions and no part is supplied)
- brake lines that run down the inside face of the main gear doors
- wing leading edge landing lights made from pieces of a clear toothbrush handle - the locations for the lights are on the wings, but there are no clear part and the wing leading edge has no opening for them
- new circular control column spade grip (the kit represents it as an oval - too bad you can't see the improvement through the canopy)
- simulated panel fasteners using a small drill bit to make indentations
- dorsal navigation light from a bit of stretched clear sprue
- radiator intake stay and some mesh inside the radiator - I think there's supposed to be stays on the outlet side too, but I missed that detail
- drilled out exhaust stubs
- paper seat harness
- reflector gun sight - two of them, actually - one is rattling around inside the fuselage after I dropped it into the cockpit for the third time
- sliding tracks cut into the fuselage behind the canopy
- drilled the tail and ventral position lights and added clear epoxy to represent lenses
- scribed around the base of the prop blades to try to make them look like they exit the spinner rather than being butt-joined to it
- Wonderwire antenna lines
I primed with gray Stynylrez (great stuff) and used PolyScale for the main camo colors, supplemented by Tamiya flat aluminium, rubber black, and other colors for smaller bits. Future was sprayed on, but my half full bottle was old enough to still be labeled as Future which, along with spraying in a very cold basement using a new-to-me airbrush, may have caused some of the coverage problems and anxiety I experienced during this stage.
Kit decals were a mixed bag. The insignia colors were too bright so I used an aftermarket set for the roundels and fin flashes, but the kit-supplied aircraft code letters and serial number were opaque and performed excellently. Decals went down using MicroSet and Solvaset, followed by a successful application of fresh Revive It Floor Gloss thinned with a bit of Tamiya acrylic thinner (thanks to Brett for that suggestion). Panel line washes and very light weathering followed, topped off by Dulcote.
Sounds like I'm talking trash about the kit, but the Pegasus Hurricane isn't pretending to be a Hasegawa, Tamiya, or Airfix kit. It has a lot of positives going for it and provided a good challenge with a positive result.
